UniPrep - Application Guide
To apply for UniPrep, you’ll need to make a formal application to AUT – but don’t worry, this guide will help you!
Click on the ‘Apply now’ button to access the application form. Use this guide to help you through the process.
New applicants
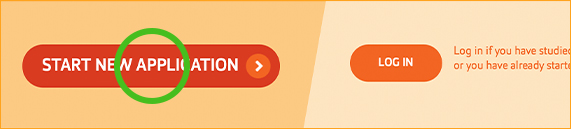
If you’ve never applied to study at AUT before (including any short courses), click on Start new application.
Returning applicants
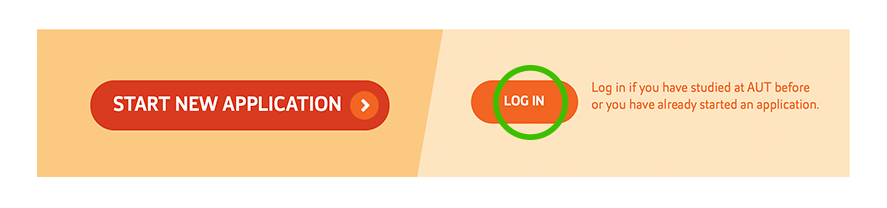
If you’ve already applied for an AUT programme in the past (including any short courses), click the Log in button and skip to the Returning applicants section below on this page.

New applicants
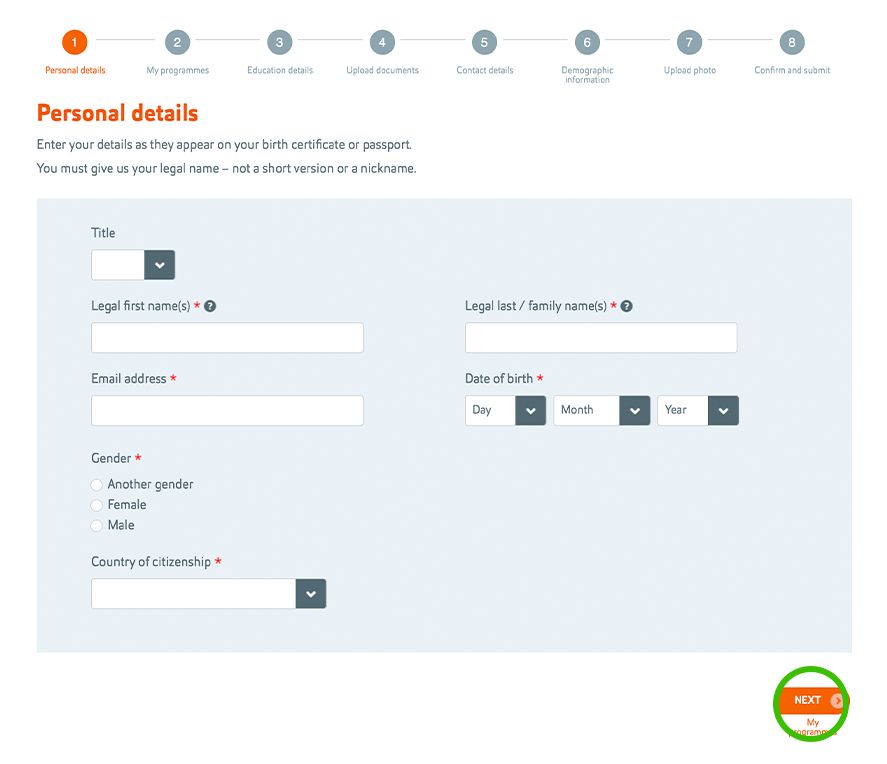
- Fill in your personal details, then press Next
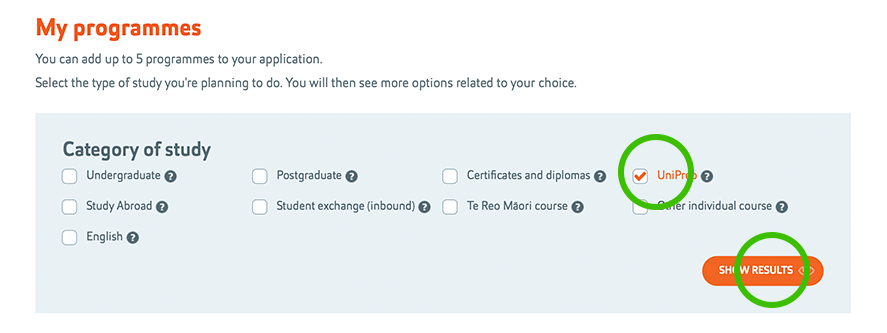
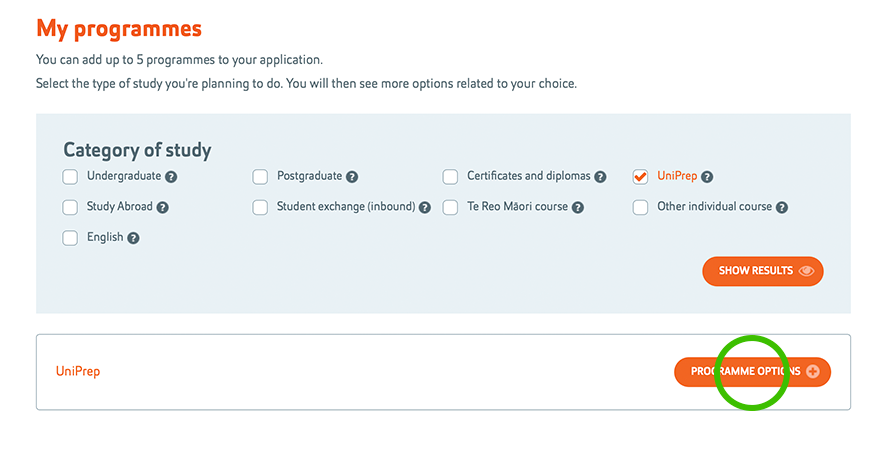
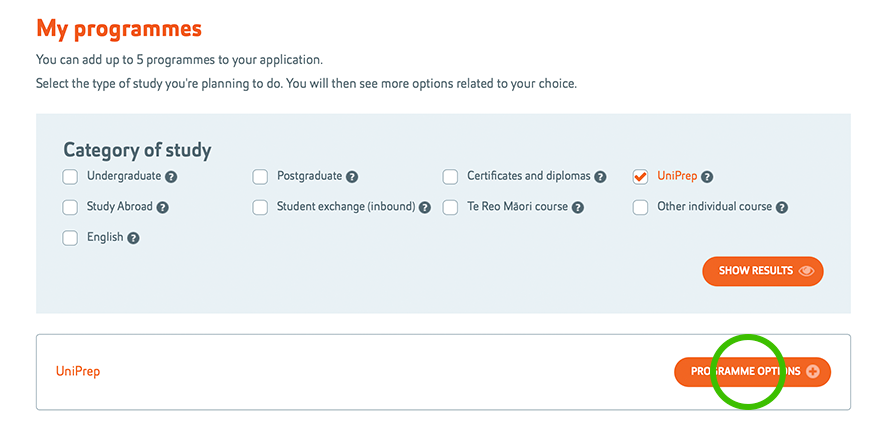
- Tick UniPrep and click on Show results
- Click on Programme options
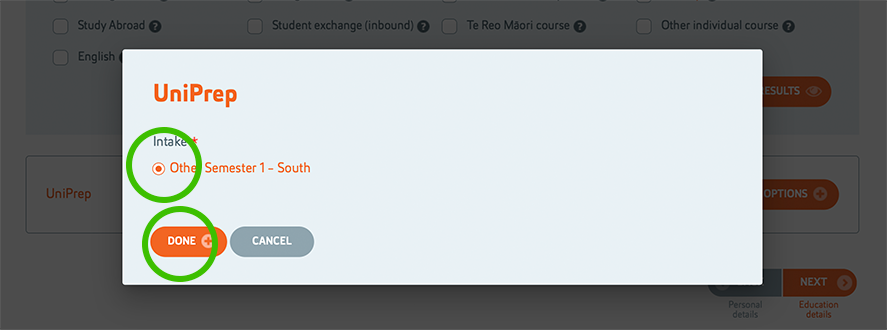
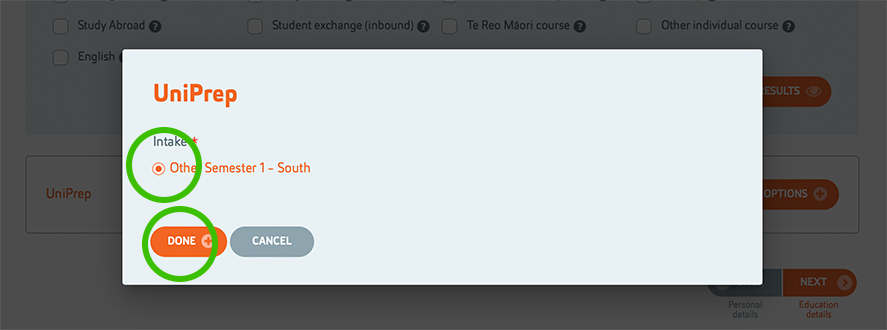
- Select the Other Semester 1 – South intake, then click on Done
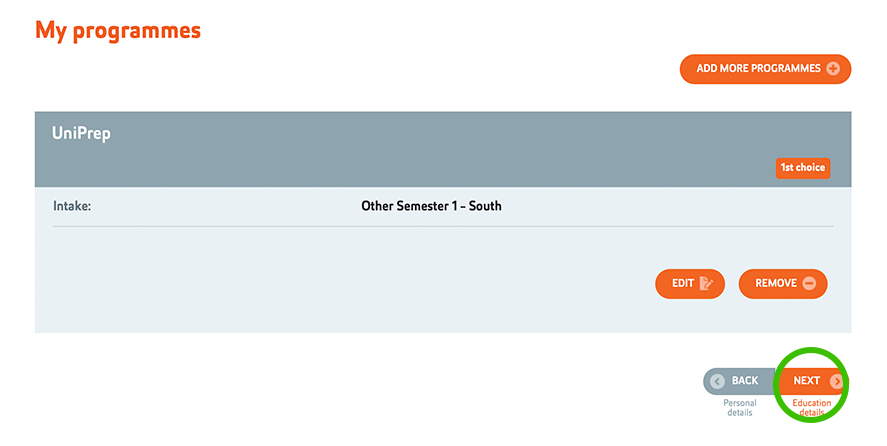
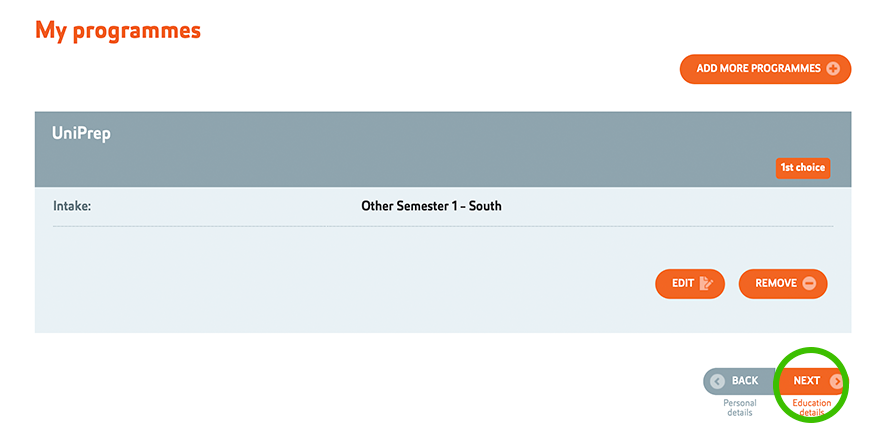
- On the My programmes page, click on Next
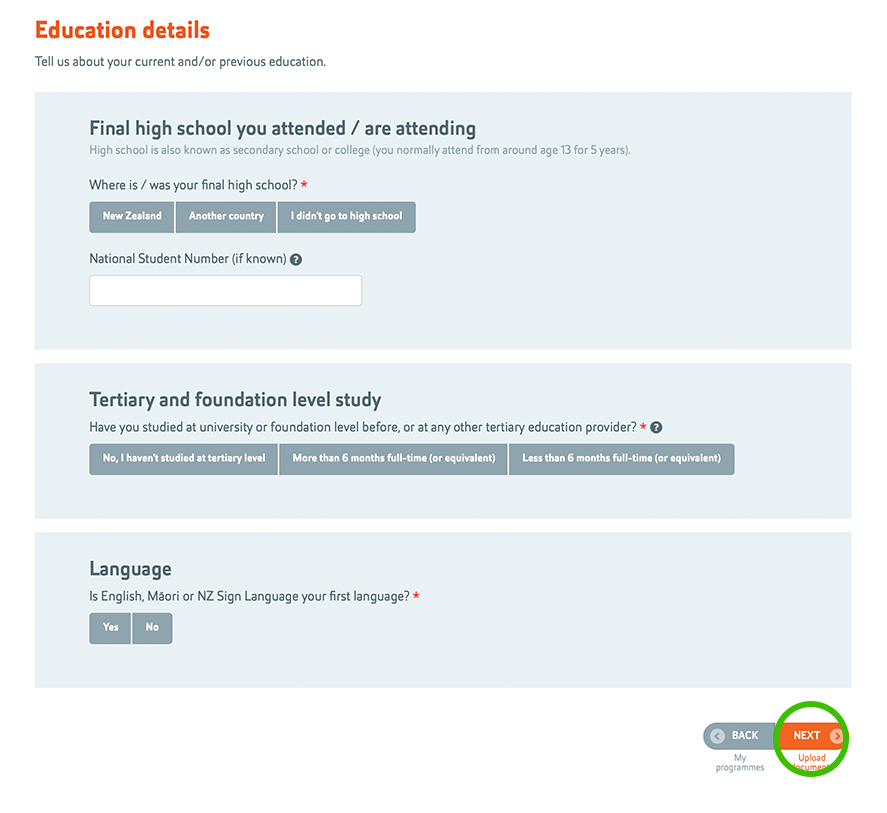
- Fill in your education details completely, then click on Next
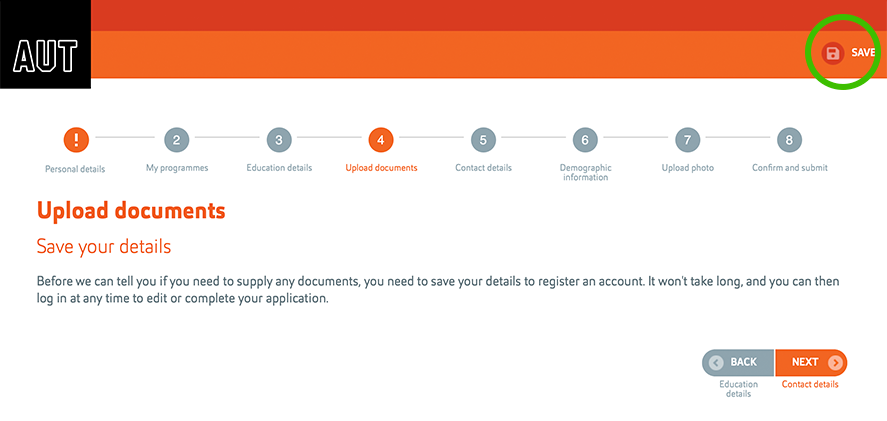
- When you get to the Upload documents step, click on Save
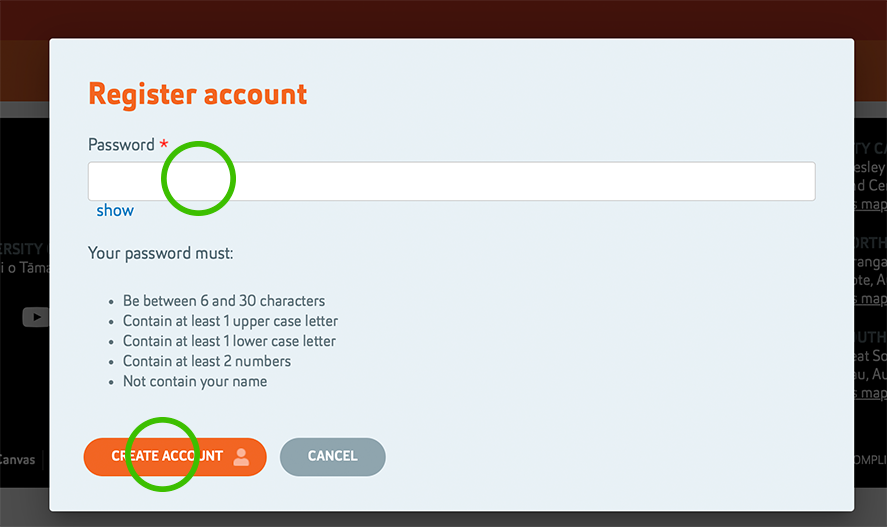
- Type in a password and click on Create account. Keep your email open because you only have 15 minutes to verify your account.
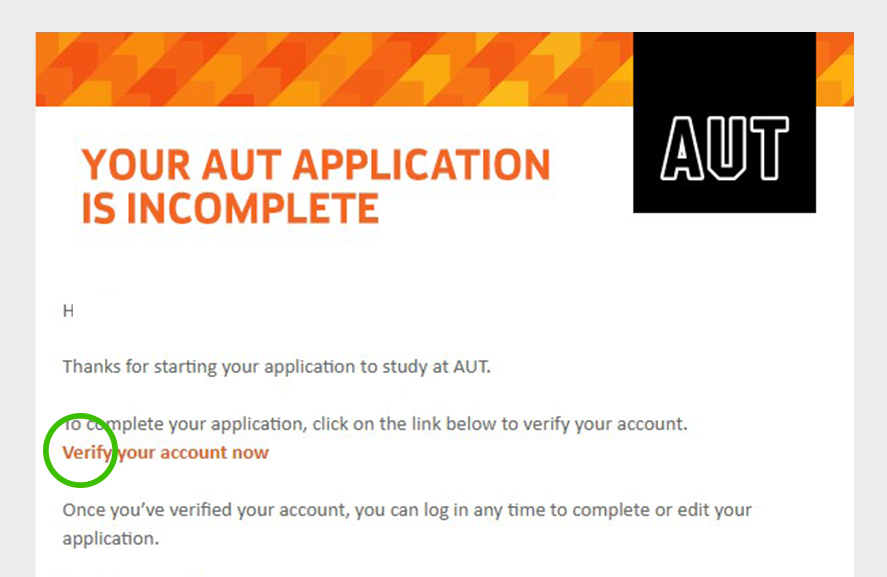
- Go into your emails and click on Verify your account now
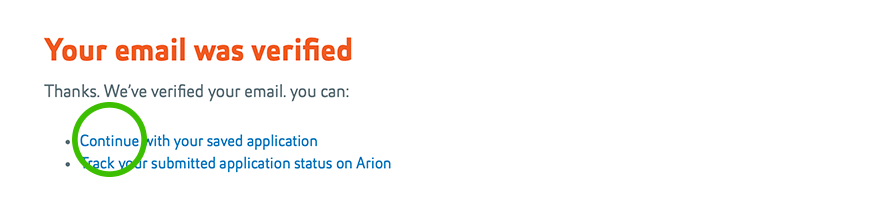
- Click on Continue with your saved application
- Click the Log in button
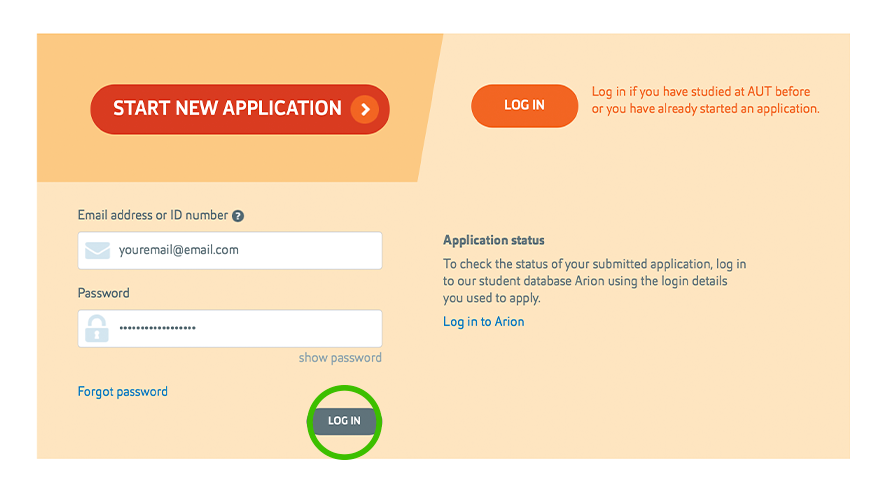
- Fill in your login details and click on Log in
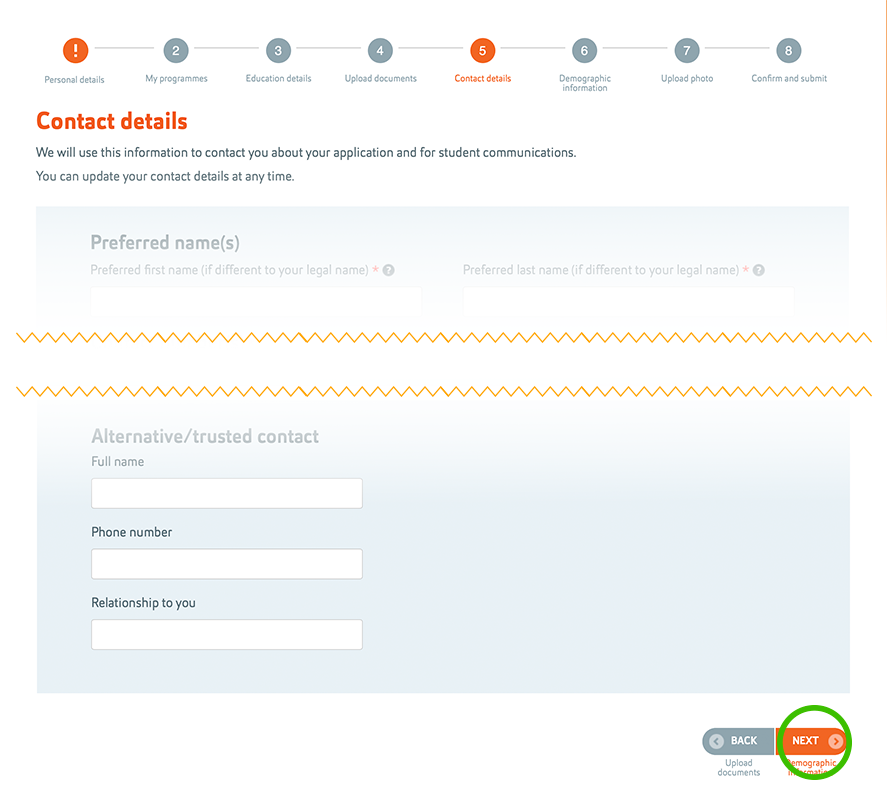
- Click on Contact details, fill in your contact details completely, then click on Next
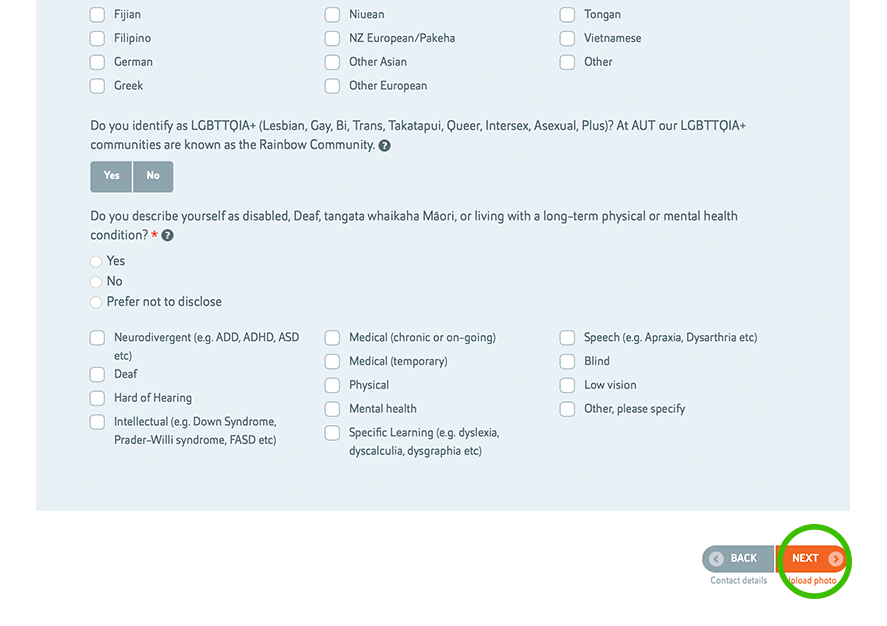
- Fill in your Demographics details, then click on Next
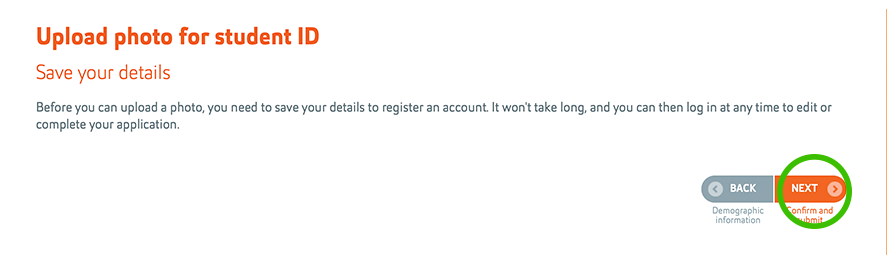
- When you get up to the Upload photo for student ID step, click on Next
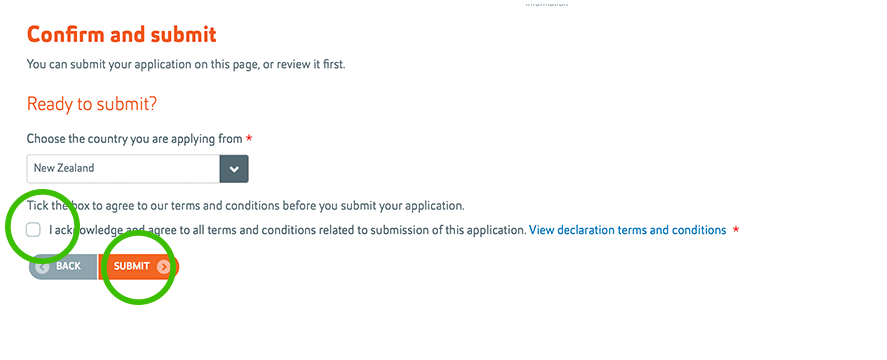
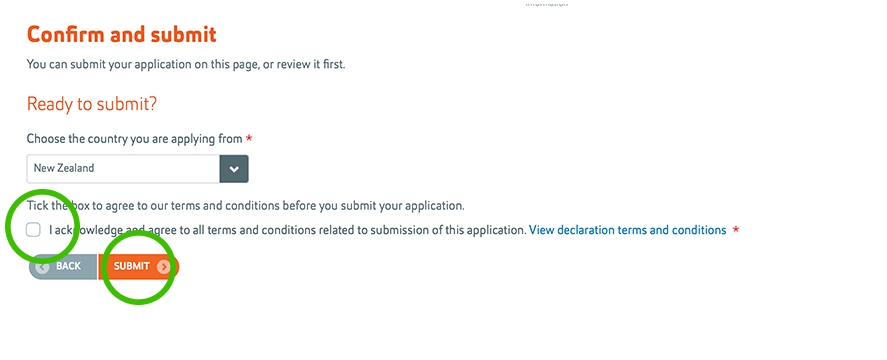
- Review your details and once you’re ready, tick the Terms and conditions box and then click on Submit. We’ll be in touch soon!
Returning applicants
If you’ve already applied for a course in the past, most of your information will be pre-filled.
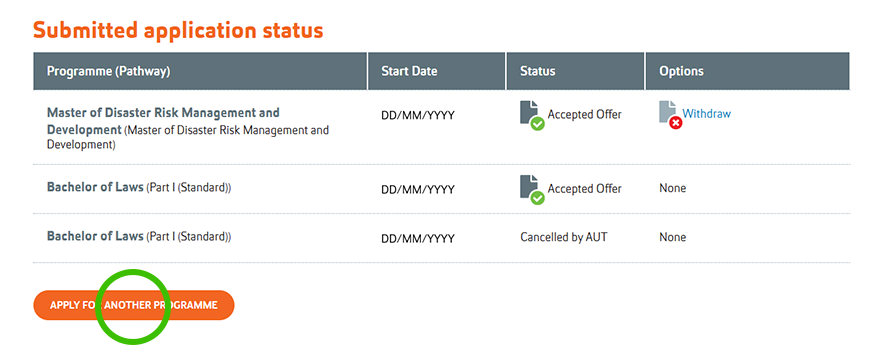
- On this screen, click on Apply for another programme
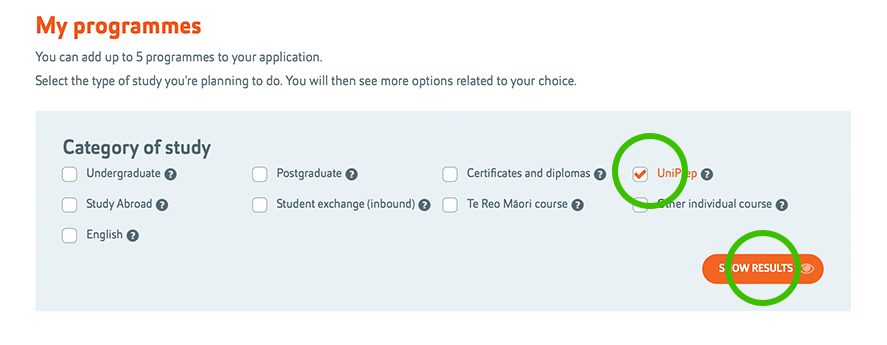
- Tick UniPrep and click on Show results
- Click on Programme options
- Select the Other Semester 1 – South intake, then click on Done
- On the My programmes page, click on Next
- Skip to step #8, check all of your prefilled details, tick the Terms and conditions box, and click on Submit. We’ll be in touch soon!